If you’re looking to get into backcountry skiing, then you might be overwhelmed by all the gear that you need to invest in (invest, not just buy!) and remember to take every time you go out. To that end, here is our list of everything you should remember to bring each time.
My wife and I actually have this in a list in our phones that we go through each time when we’re in the car (with the dog, of course. Can’t forget him!) and about to back out of the garage.
I’m writing this at the very tail end of 2018, so you may be able to score some post-Christmas deals as well. Or, if you’re reading in the spring/summer there are likely some amazing deals at Backcountry.com or the like.
To help you out we also created a public Trello board that you can copy and make sure you have everything every time you go out! We also added some other things not noted in this guide that we find useful in our mountain explorations, and you may as well.
Check it out here >
Powder skis
If you’re heading into the backcountry and willing to earn your turns, you’re looking for powder. Let’s face it, we’re likely not going to hike up a mountain powered by just our own legs, at altitude, to get crappy snow. We’re hunting for powder.
Thus you need powder skis. People used to go out with heavy skis, but over the last few years companies have begun putting out some amazing skis that are light and still rip.
They’re not cheap – good new powder skis are in the $700+ range (before boots and bindings) but they’ll last you for many seasons. If you’re just getting started, you can maybe rent a backcountry setup from a shop (I used to rent from Sports Basement in the Bay Area before buying my setup in Colorado) or find a used pair on your local Craigslist.
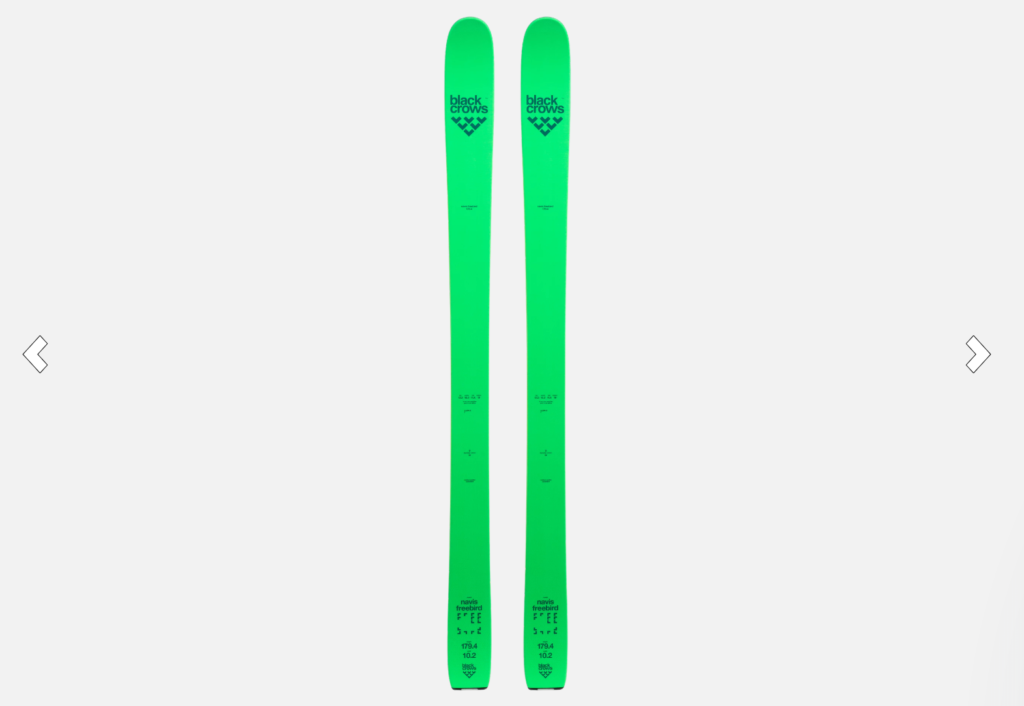
My ski of choice these days is the Navis Freebird from Black Crows (our review here), but I have friends riding Salomons, RMUs, and pretty much any other brand.
What you’re really looking for are alpine touring skis, and if you like powder then you’ll need some at least 100 underfoot to really have a great time. If you want to go fast, look for “skimo” skis.
Backcountry bindings
Backcountry bindings are different from regular downhill bindings in that you’re able to release your heel so you can skin up the mountain. They are different from telemark bindings in that you can then lock down your heel again when ready to ski.
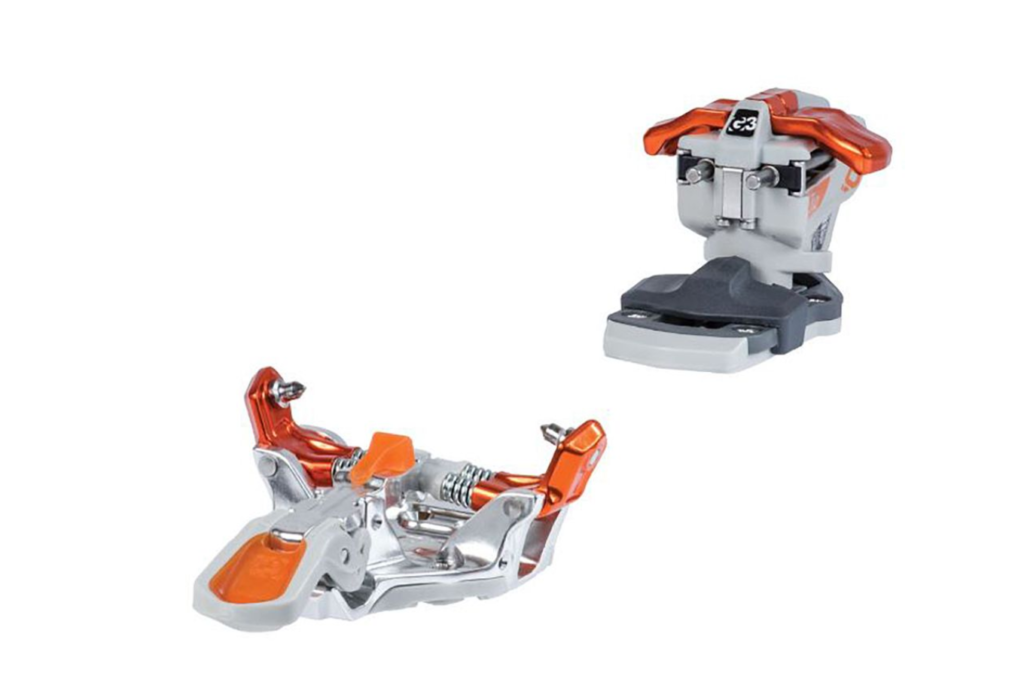
Most backcountry bindings used these days are “pin” bindings, meaning there are two pins on the front of the binding that attach into the front of your pin-specific boots.
I’m currently on the G3 Ion 12 bindings (our review here) and love them, though there are some new entrants on the market like the Salomon Shift that deserve a look too depending on if you need an all-around binding (Shift) or a backcountry-specific binding (G3 Ion).
If you aren’t ready to invest in a pair of pin bindings in order to shed weight while climbing, you can get a pair of platform backcountry bindings like the Marker Tour F12 EPF Alpine Touring Binding:
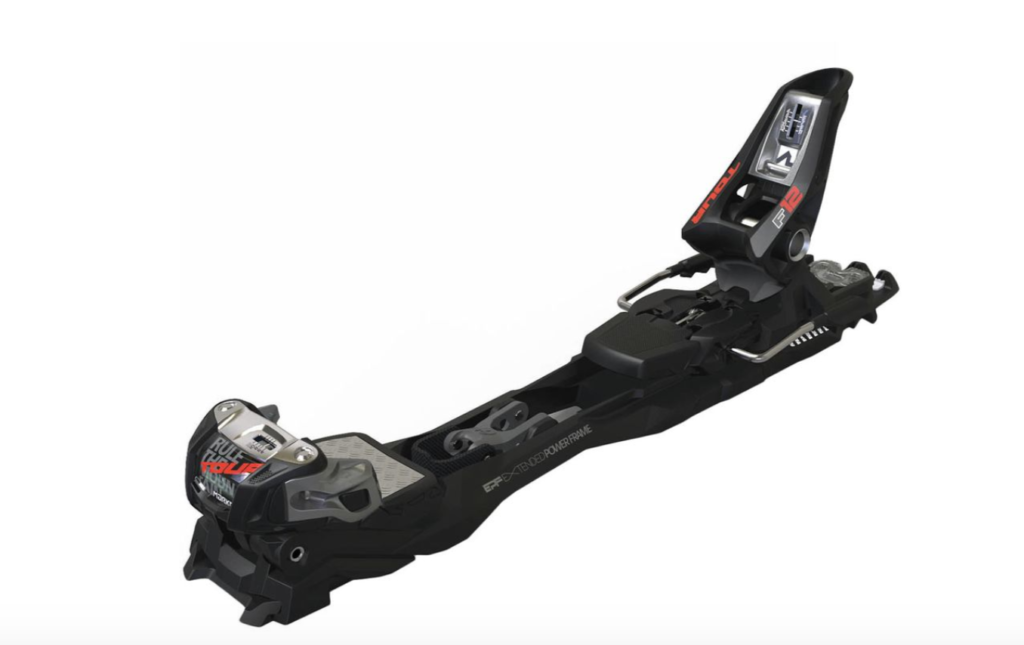
They are undeniably heavier, but you won’t need pin-compatible boots and they’re more secure inbounds at the resort too.
Check out all the backcountry touring bindings on Backcountry.
Backcountry boots
Next, don’t forget your boots! Believe me, I did this one time and it did not make for a fun day (though we were able to recover the day).
You have two choices: use your current boots that have walk mode and use them with platform bindings, or get a pair of pin-compatible backcountry boots.
Backcountry boots tend to be much lighter than a regular pair of downhill boots. The materials are thinner and they are not as comfortable, but they save you ounces on the ascent and still ski great.
The important thing is finding boots that fit you well, then heat molding them and making them comfortable. I skied a pair of Scarpa Maestrale RS boots for two years, but eventually realized that they didn’t fit me right (though I loved how they ski), so I sold those and now ride a pair of Hoji Pros from Dynafit. Review forthcoming.
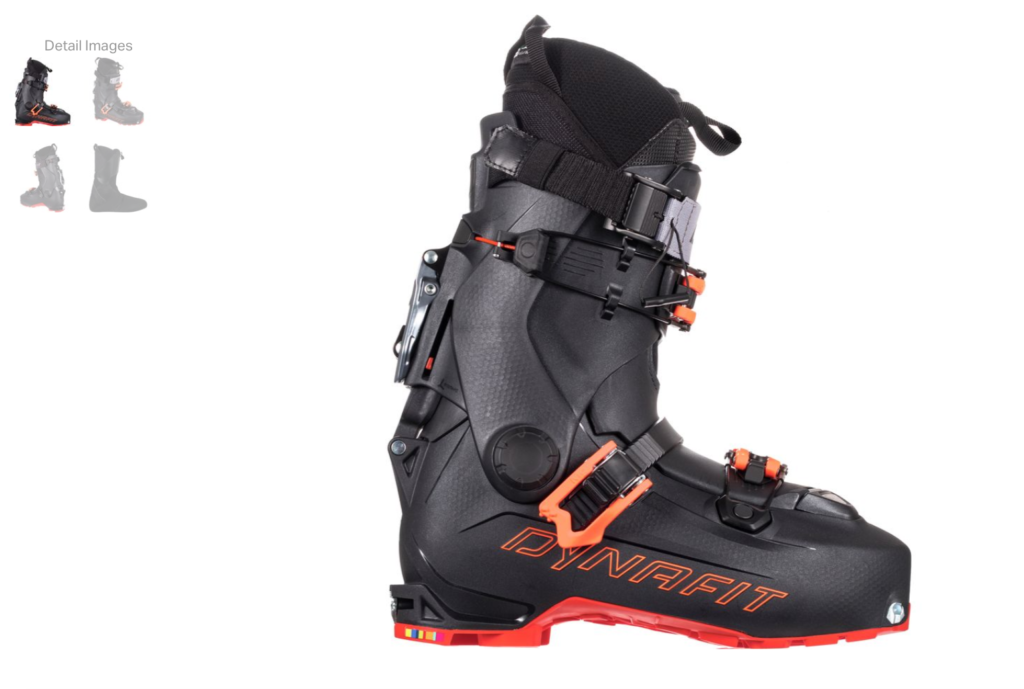
Check out the alpine touring boots on Backcountry.
Climbing skins
Next, don’t forget your climbing skins which go on the bottom of your skis and enable you to walk uphill. Called “skins” because the first explorers used seal skins, they’re now mohair, nylon, or a composite of the two and readily accessible from brands like G3 and Black Diamond.
I’m on a pair of G3 climbing skins (these ones) but once again I have friends across the spectrum of skins. Buy em, trim em to fit your skis, and don’t forget to stick them in your touring backpack, hang them up to dry after each use, and store them in a cool dry place for the summer!

Check out climbing skins on Backcountry
Ski poles
The number one thing people forget to throw in the back of their car/in their car box up top is ski poles. We’ve even left them at the top of mountain passes after a day of skinning and riding fresh pow. Sad face.
You can definitely make do with your resort poles when you’re first starting out, but you’ll eventually want to upgrade to a lighter set that you can extend or shrink depending on the terrain you’re exploring.
I personally use a pair of Black Diamond Traverse poles, but there are many worth a look such as the new Armada Carbons.
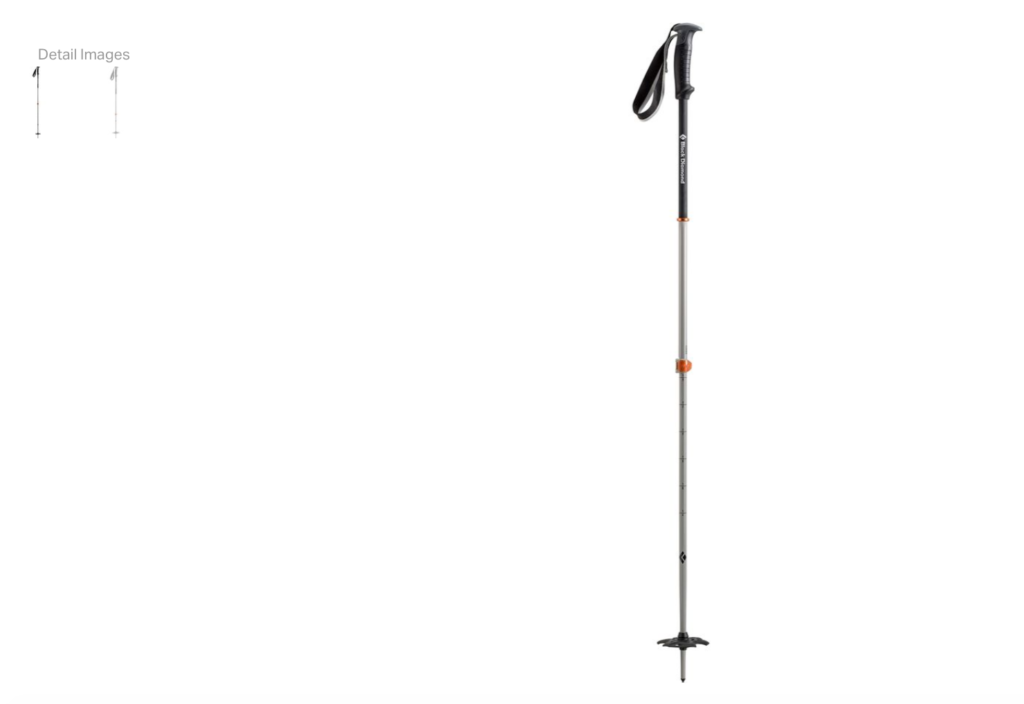
Check out ski poles on Backcountry
Shell
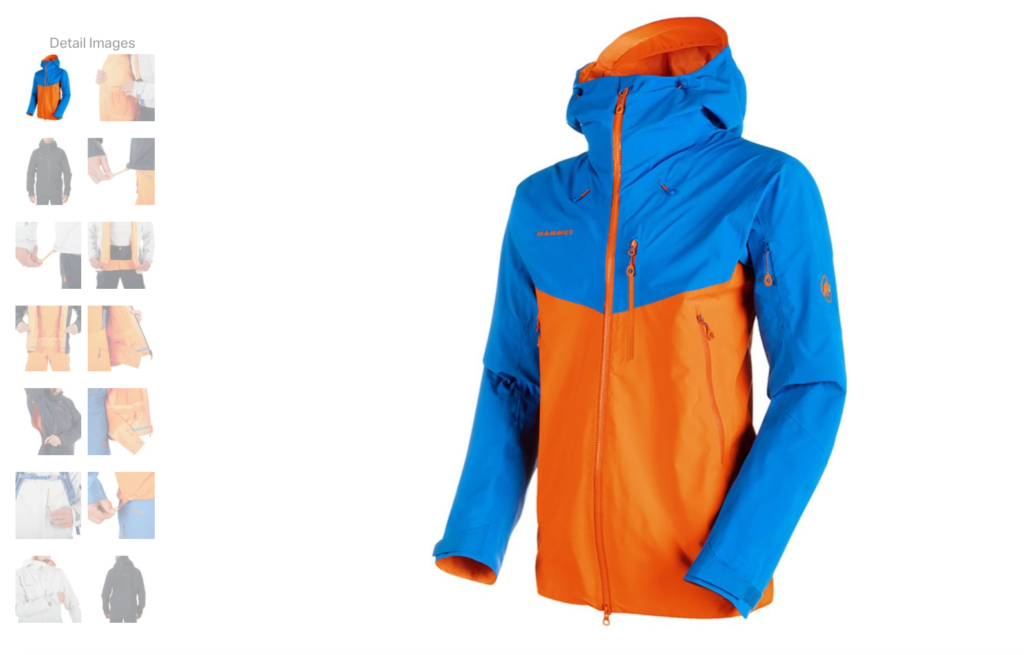
When you’re up high on exposed ridges, you better believe you’re going to want a shell that breaks the wind and has a good storm hood to go over your helmet.
There are many shells out there on the market that can suit well in your backpack as you climb and then protect you up top and on your ski down.
What you want to look for is something light, water-resistant, and packs down easily. We recommend that you not use an insulated jacket for backcountry pursuits, as what you really need is layers that you can easily take off and store in your pack or put back on quickly when things get cold.
Here’s Backcountry’s list of backcountry skiing jackets, but I recommend that you especially look at anything from Arc’teryx (British Columbia brand), Mammut (Chamonix, France), or The North Face.
I personally have my eye on a Mammut Nordwand Pro 🙂
Puffy jacket
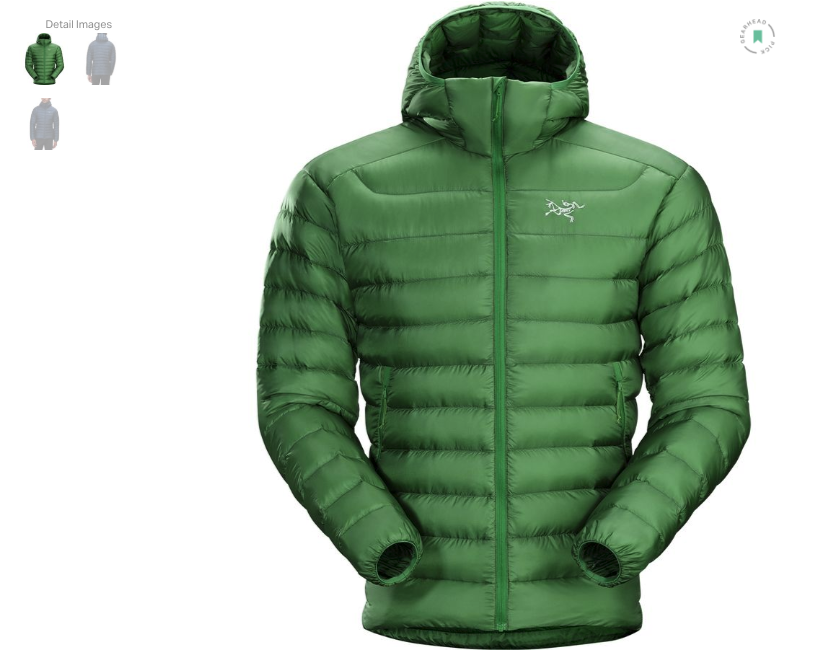
To stay warm, do not forget your puffy jacket! I like to start off the tour wearing my Ghost Whisperer from Mountain Hardwear (review here), then take that off and store it in the top of my pack until things get windy and really cold. I’d also consider the Arc’teryx Cerium LT if it fits you (it fits slim)
I’ve recently started using my REI 650 fill vest at the start, which definitely makes things a bit colder at the start but reduces the number of times I need to stop to adjust my layers.
Why a puffy jacket over synthetic? Simply put, weight and packability. While I love my Ventrix from The North Face and it breathes great, it’s too bulky to justify bringing along with limited space in my pack. I’d rather have more room for snacks.
Check out all men’s puffies and women’s puffies.
Base layer (top)
Base layers will make or break your day. You want to avoid cotton (note: I break this rule all the time and I’ve regretted it a few times) because it soaks up and doesn’t wick water from you, which means cold sweat at the top.
A good top base layer made of something like merino wool will go a long ways. I recommend checking out the Stoic midweight base layer (for men) which is made of 85% polyester and 15% spandex.
Base layer (bottom)
Bottom base layers are super important for around the resort, and doubly so for backcountry skiing. The tricky thing, of course, is that you’re going to be working hard going uphill and then you’ll be skiing through some very cold weather.
Thus a base layer that wicks will be super important, underneath your lighter-than-resort ski pants that we will talk about next. You want to look once again for a merino wool or blend set to help keep everything dry.
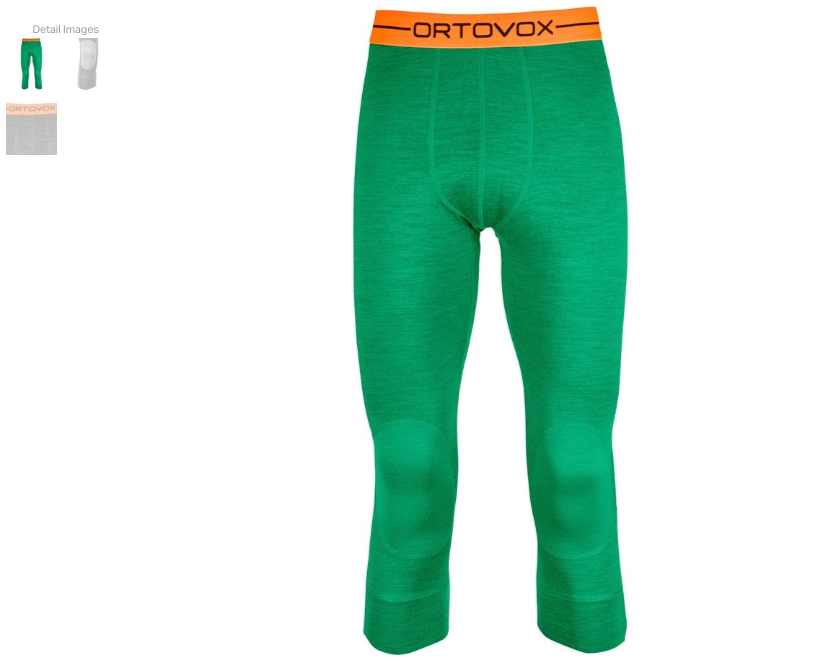
For all around, check out the Ortovox three-quarters base layer. For a bit heavier, try the Stoic Midweight bottoms.
Here’s a full list of mens and womens on Backcountry.
Ski pants
If you’re just getting into backcountry skiing, then the ski pants you use at the resort will get you by as you get use to all the other things that go with the sport – skinning, thinking about avalanches, route finding, etc. You should, though, make sure that you have zippers inside or outside your thigh so that you don’t overheat.
But eventually, you will want a lighter pair of ski pants that are meant to help you not overheat while going up.
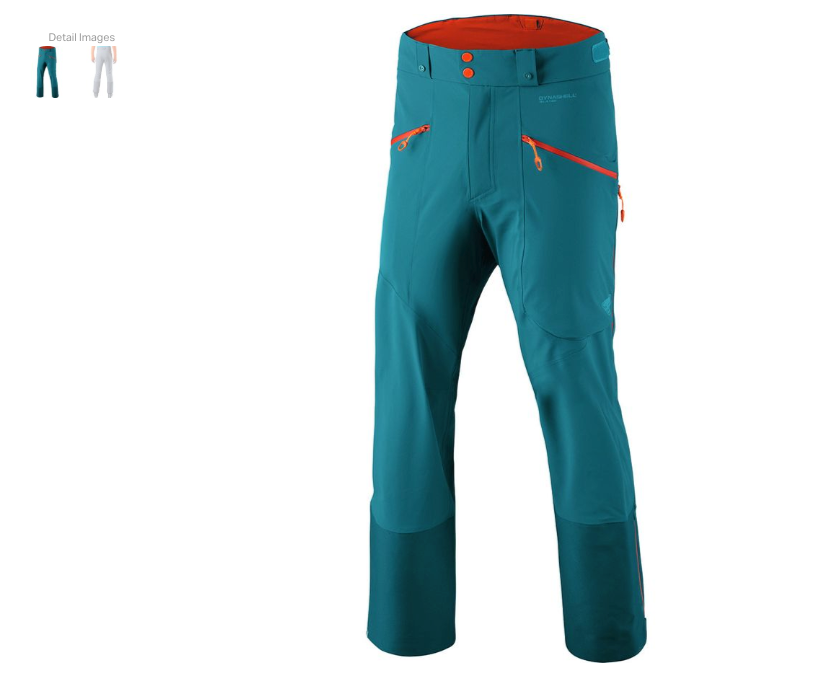
Luckily there are many great light choices out there, such as:
- Dynafit Beast Hybrid Pant
- Marmot Discovery Bib Pant (I personally have my eye on these at only $274)
- Norrona Lofoten Gore-Tex Pro Pant
Ski socks
There’s a saying that when you get older, stick to giving holiday gifts that involve booze or socks and you’ll never go wrong.
I tell you what, I am stoked when I get awesome ski socks for Christmas. I’m not talking Smartwool hiking socks (though I love those for hiking and around the cabin/lodge/house), but true skiing socks.
My personal favorite ski socks are actually Smartwool, but they are the PHD Medium Weight Pattern Socks:
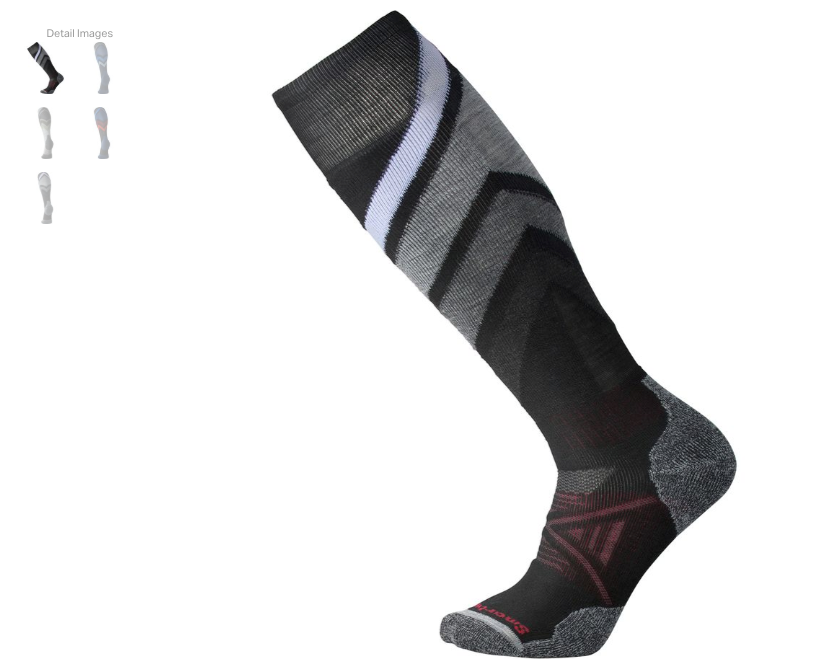
Here are a full list of men’s ski socks and women’s ski socks on Backcountry.
Heavy gloves
Just like a regular day out at the resort, you’ll need some heavy gloves to keep your hands warm.
Heavy gloves are a source of contention in the backcountry skiing community. I’ve seen weirder hills to die on, but this is one that I just don’t get.
Many backcountry skiers swear by leather gloves like the Flylow Ridge Glove, which can be had for just $49 from Backcountry:
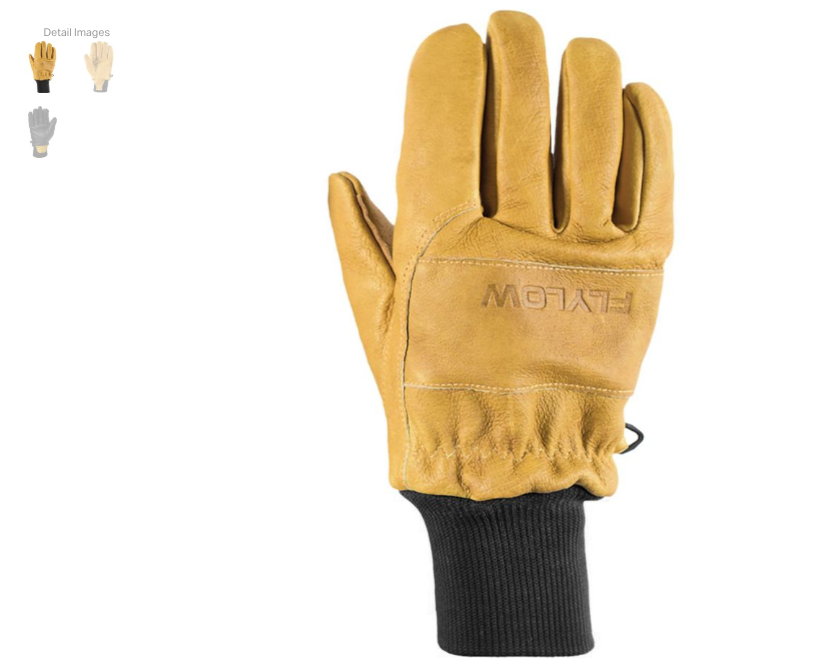
I own a pair, but don’t find them sufficient to keep my fingers warm (I have sensitive fingertips from years of rock climbing). I think the reason many backcountry skiers love them, to be honest, is dualfold:
- They are cheap;
- The leather lets you still be dextrous enough without requiring a second set of gloves for liners.
Personally, I love my Hestra Heli Outglove gloves ($229 at Backcountry) which are definitely not the cheapest on the market, but I’ve had for 3 years and absolutely love to keep my fingers warm.
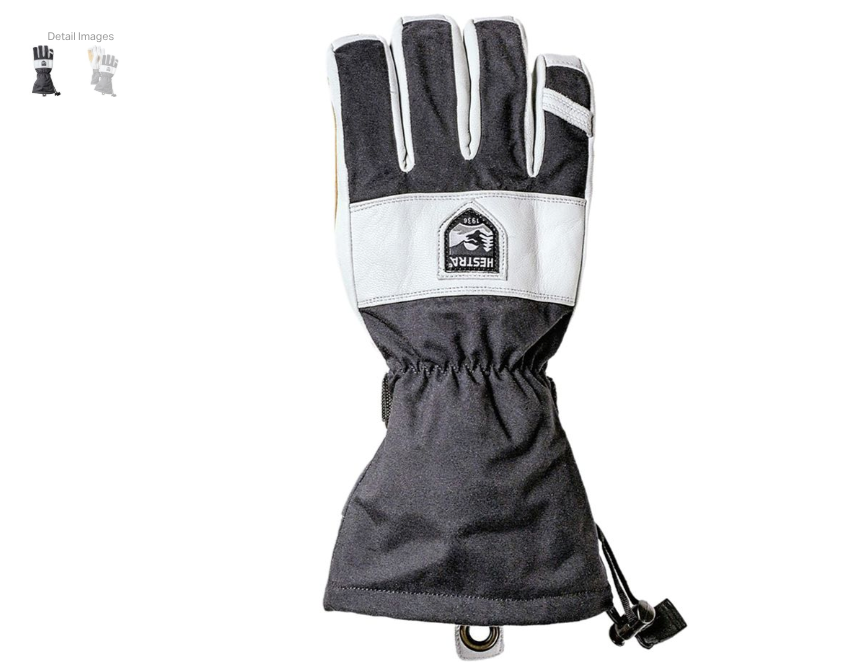
A cheaper option is the Black Diamond Guide glove at $169.
Here are men’s ski gloves and women’s ski gloves on Backcountry.
Glove liners
When you’re skinning up a mountain or even just putting on or taking off your skins, you’ll want something less than your heavy ski gloves above. I don’t recommend ever going bare-handed while in the backcountry except for on really warm days, so you need a pair of glove liners.
I have too many pairs of glove liners that I wear around my hometown of Denver all winter long, but they also double up as a light pair of gloves to wear when I’m skinning or ripping skins off my skis.
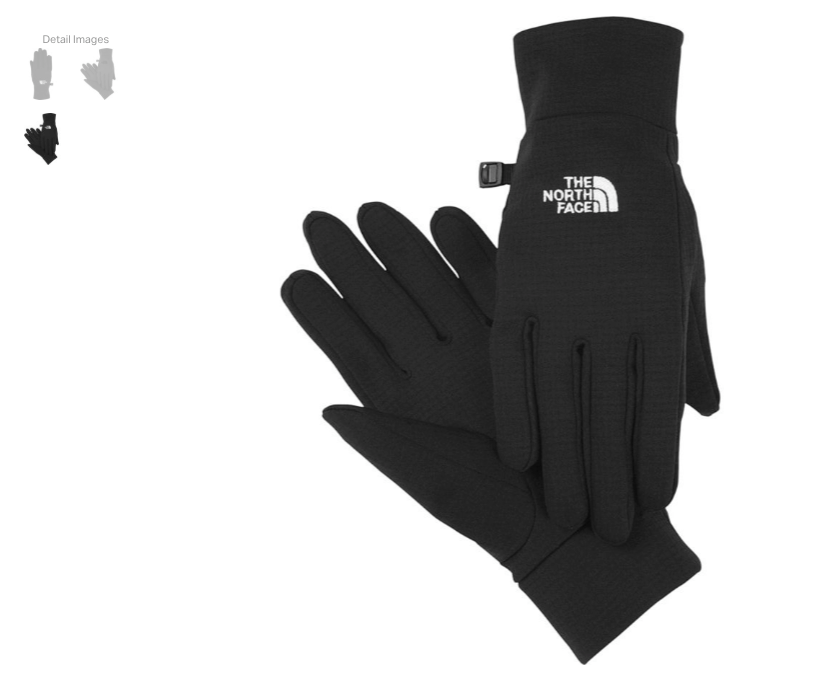
Our article about the best glove liners for skiing goes into great depth, but the ones we recommend (and use) the most are:
But those are our choice, so do your own research. Here are men’s glove liners and women’s glove liners on Backcountry.
Baseball cap
Your head will get WARM as you skin up the mountain, so I always recommend having a baseball cap with you that is vented so that your head does not get too hot.
Pretty straight forward. Wear it up, stash it in your bag or on the side on the way down.
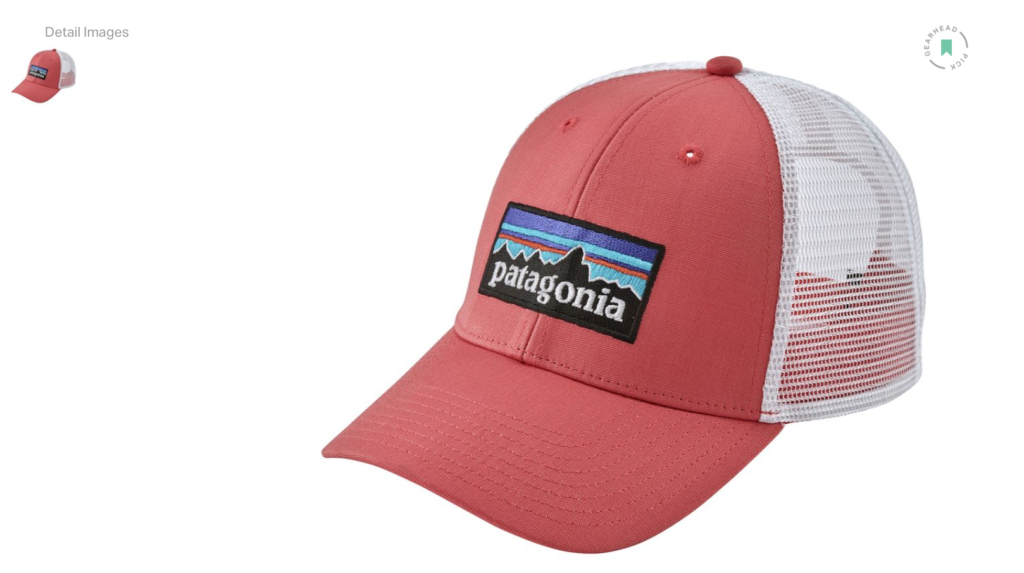
The most popular these days are Patagonia trucker hats, though here are a full list of men’s trucker hats and women’s trucker hats.
Beanie
Next, don’t forget your beanie. You don’t want anything too heavy, but there are times where it is cold enough to merit a beanie instead of a hat while skinning.
You want something like the Arc’teryx Phase AR:
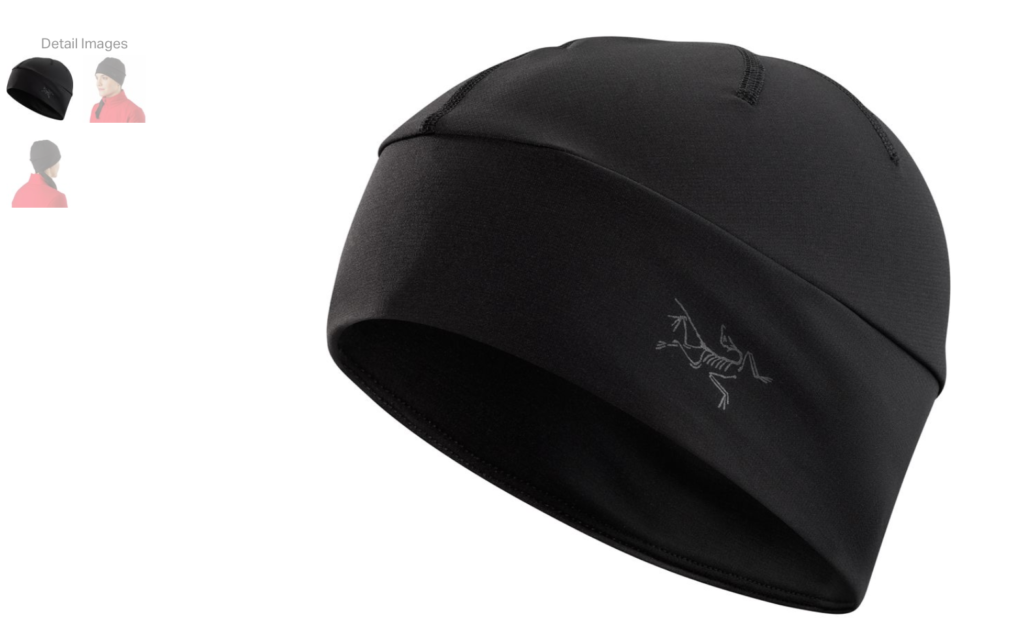
Ideally you want something packable and that wicks sweat away from your head.
Here are men’s ski beanies and women’s ski beanies.
Sunglasses
When you’re skinning you’ll want sunglasses on your face to protect your eyes from bright glare off of the (hopefully) fresh snow.
You’ll want something that covers your eyes as fully as possible, as bright light can get in under sunglasses that are too small. I also prefer polarized sunglasses because they help with depth of field and eliminating glare that you get with non-polarized. They’re more expensive, but once I got my first pair of polarized sunglasses I haven’t looked back.
I personally use either my Oakley Flak Jacket XLJs, which I bought in 2014 and have used on countless ski tours and cycling rides, or my Smith Outlier 2 Chromapops which I bought last year for fly fishing but has increasingly become my go-to for ski touring as well.
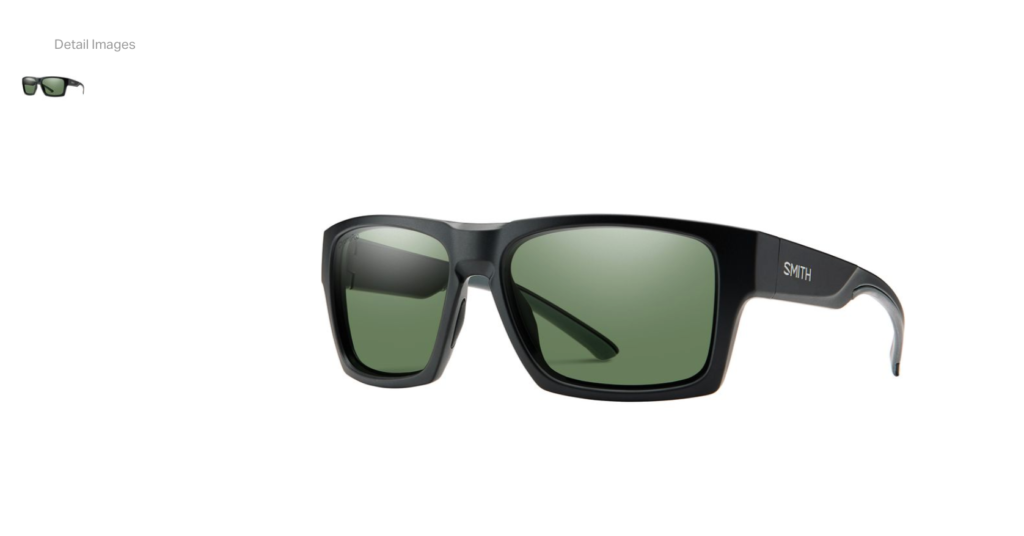
Check out all polarized sunglasses on backcountry.
Helmet
As we’ve already covered, when skinning up you’ll want a baseball cap or a light beanie. But when you’re going down, you need a helmet.
It is absolutely amazing (in a great way) how in about 15 years, the skiing and snowboarding community went from almost no one wearing a helmet to now, lift lines are full of helmets. Riding without a helmet is almost looked down upon these days.
There are so many quality (and stylish!) helmets out there on the market that you don’t really have an excuse to not have one. And yes, the helmet you use at the resort is just fine to take backcountry skiing. In fact, most backcountry backpacks have a place to stash them when skinning up, and then easy access to get it at the top as you prepare to go back down.
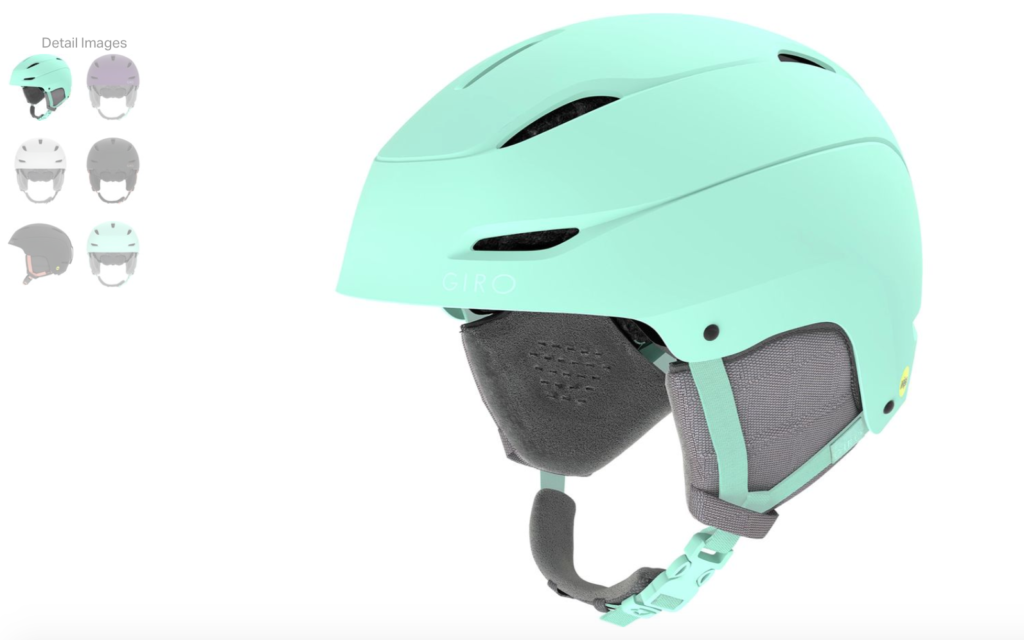
Here are all of Backcountry’s listed helmets, but we personally use:
- Giro Zone
- Giro Ceva MIPS (womens)
Goggles
If you have a helmet then you need a good pair of goggles.
Once again, I recommend polarized goggles in order to help you see more clearly, especially in flat light.
The most important thing with goggles is to make sure that they fit your face and helmet well. What fits me might not necessarily fit you right, so it’s worth trying them on with your helmet.
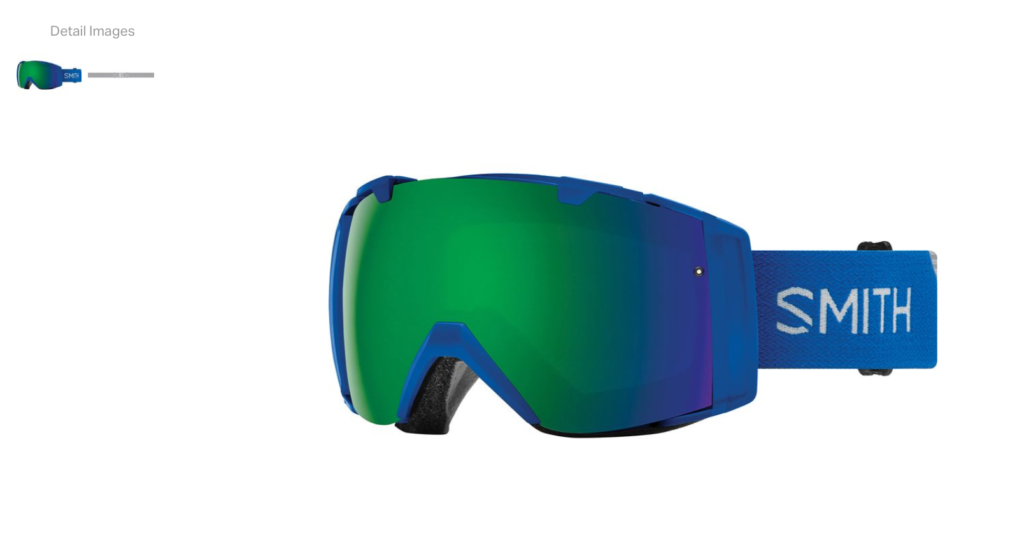
I personally have a pair of Smith IO Chromapops (sensing a trend?) that I love. I stick them in my backpack top pocket in their soft case while not wearing them, and throw them on my helmet before we descend.
Check out all goggles on Backcountry here.
Backcountry backpack
You’re going to need a backpack. You’re out in the mountains under your own power for hours on end, so you’ll need water, snacks, and your gear to keep you safe. We’ll discuss gear below, but let’s talk packs.
When I first started backcountry, I used my The North Face 45l backpack, which was fine to get started but I outgrew. I needed something that had quicker access to my avalanche gear, was tailor-made for my needs while skinning (such as water, snacks, and quick gear grabbing), and was actually built for skiing hard.
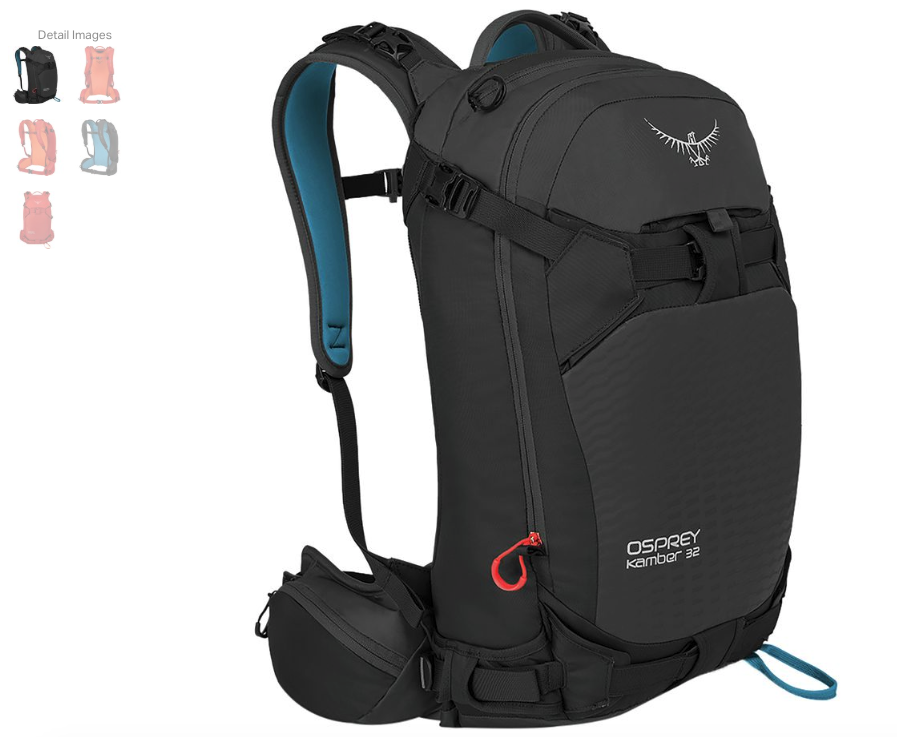
After a lot of research in late 2017, I finally bought the Osprey Kamber 32 (review here), and I love it. It’s big enough for my skins, all my avalanche gear, an extra layer, and has a water bladder pocket in the back flap.
My main recommendation is to not go too big. By purposefully getting a smaller pack than you think you need, you’ll trim down on your gear and be able to move faster in the mountains. I was able to do a 3 day hut trip with my Kamber 32, sleeping bag and all. You’ll be amazed.
Here are all of the winter packs on Backcountry.
Also note that airbag packs have become extremely popular in the backcountry community in recent years. When we were in Chamonix in December 2017, we saw most people with them. They have come down in price, though are still more expensive than a regular backcountry pack, but could also save your life.
Beacon
When you’re in the backcountry, you need an avalanche beacon in case something goes awry.
A beacon will help your party find you if you get buried in an avalanche. This is the real deal, and you should never go into the backcountry without a beacon and knowing how to use it. We highly recommend an avalanche training course as well to learn.
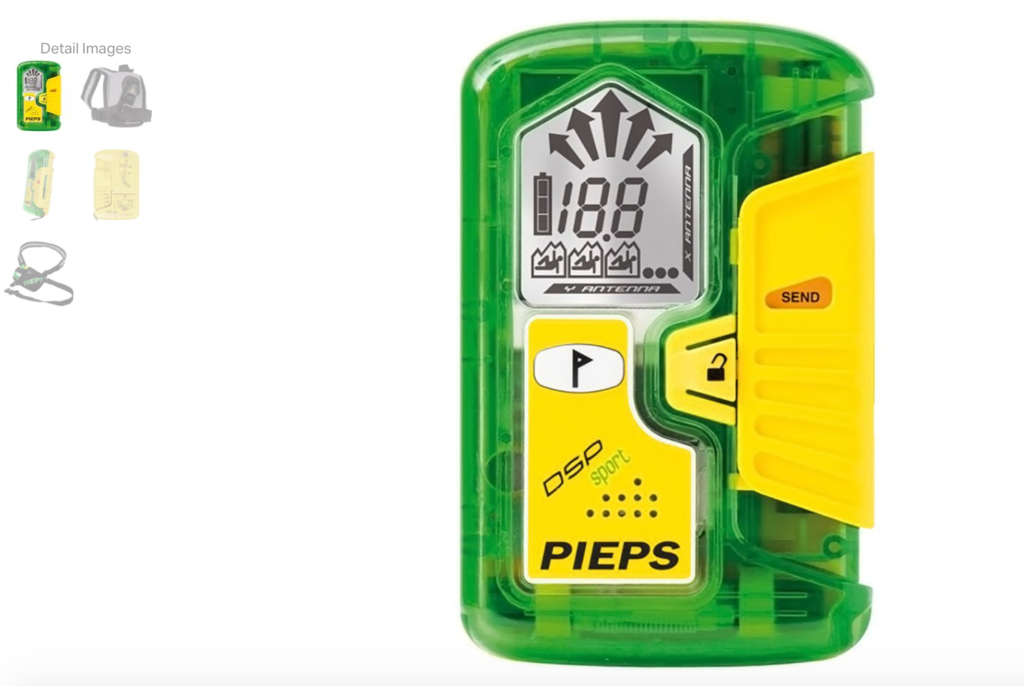
I use a Pieps DSP Sport avalanche beacon, which is one of the more popular beacons on the market. The Tracker 3 is also very popular.
I don’t care which one you get. Get a beacon and know how to use it.
Shovel
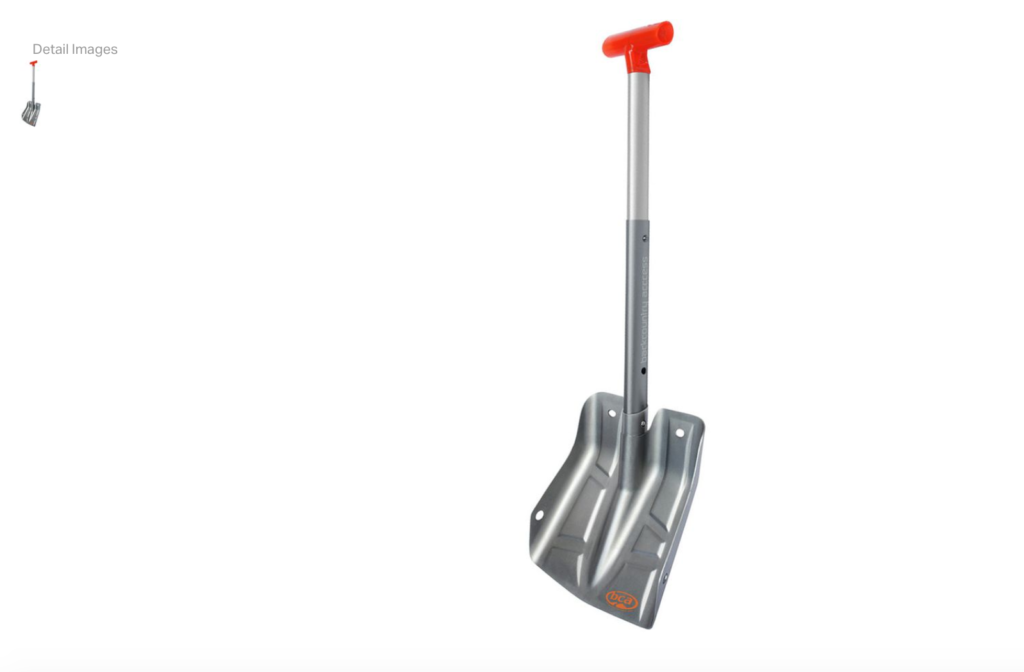
After a beacon, the next most important thing you need if an avalanche occurs is a shovel.
There are many good shovels on the market. I personally have a Backcountry Access B2 Extendable shovel, and got it because it was relatively cheap and light. Get what works for you.
Probe
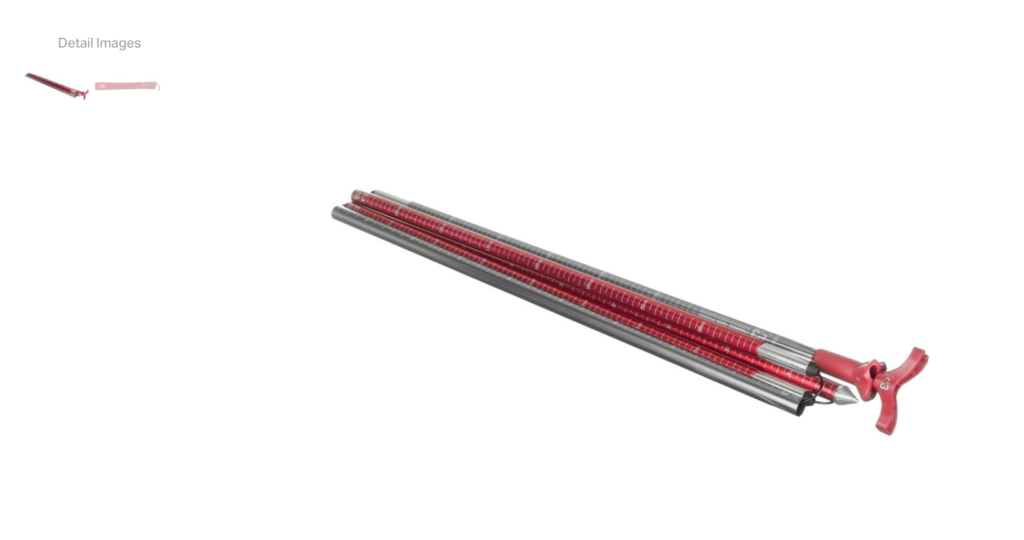
After a beacon and shovel, you also need a probe. It’s morbid, but if your friend gets swept away in an avalanche then you use your beacon to find them, your probe to locate them in the snow, and your shovel to dig them out.
I have the G3 240 Speed TECH probe, but as with the shovel, get what works for you and your budget. Just make sure you practice with it and know how to use it should the need arise.
Headlamp
Sometimes things go awry and it gets dark on you, or you’re starting so early that the sun has not yet risen!
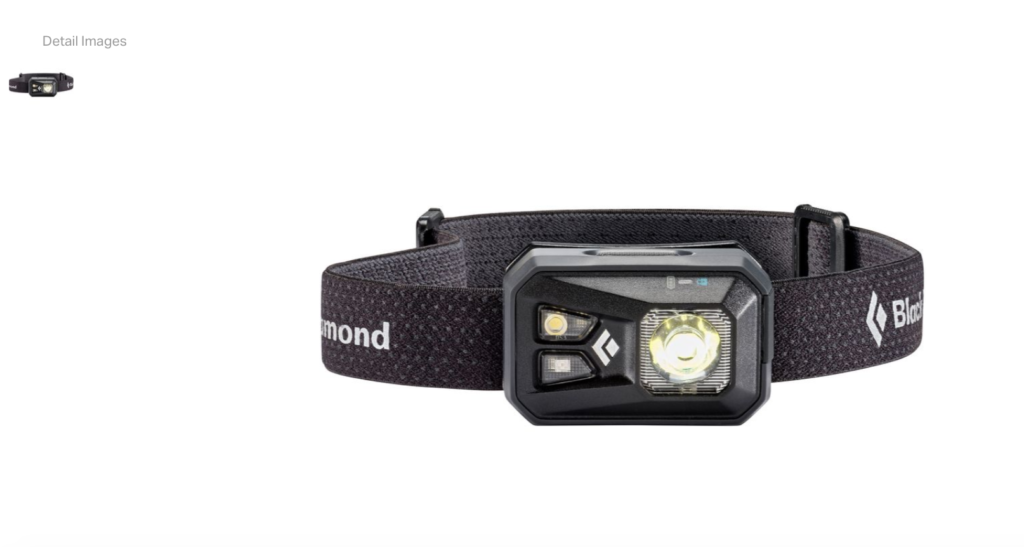
In that case, you need a headlamp. Your backpacking headlamp will do just fine, and it’s amazing how cheap they’ve become!
I have a Petzl Diamond ReVolt. I love it. It’s tiny and only costs $47. I keep it in my backcountry pack in the winter and my backpacking pack in the summer.
First aid kit
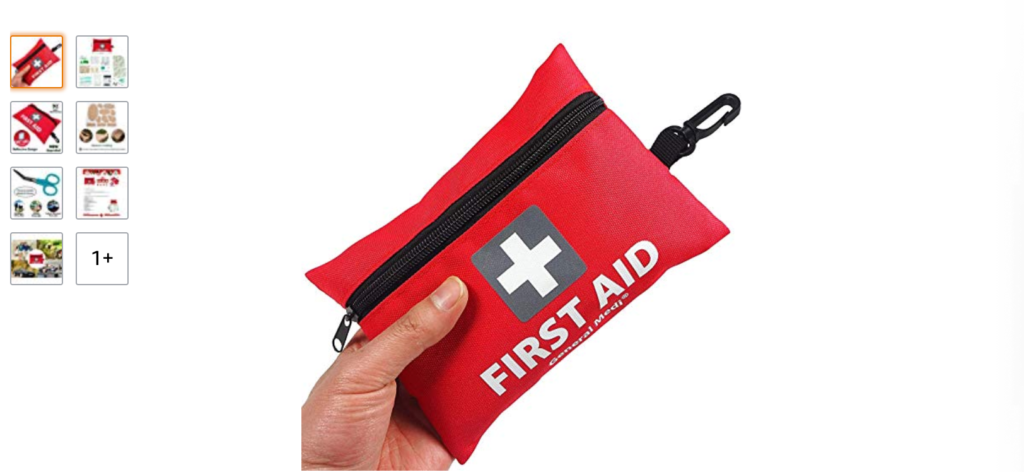
If someone gets hurt, you need to be able to take care of them. Beyond a wilderness first aid course, I also recommend having a first aid kit in your pack.
Yes we are going for minimalism as much as possible, but carry a first aid kit. At minimum have bandaids, some extra skin straps that you can use either if a skin busts or to stabilize a hurt leg, some antibacterial, and some matches.
I have this one. It’s $11. Get it.
Knife
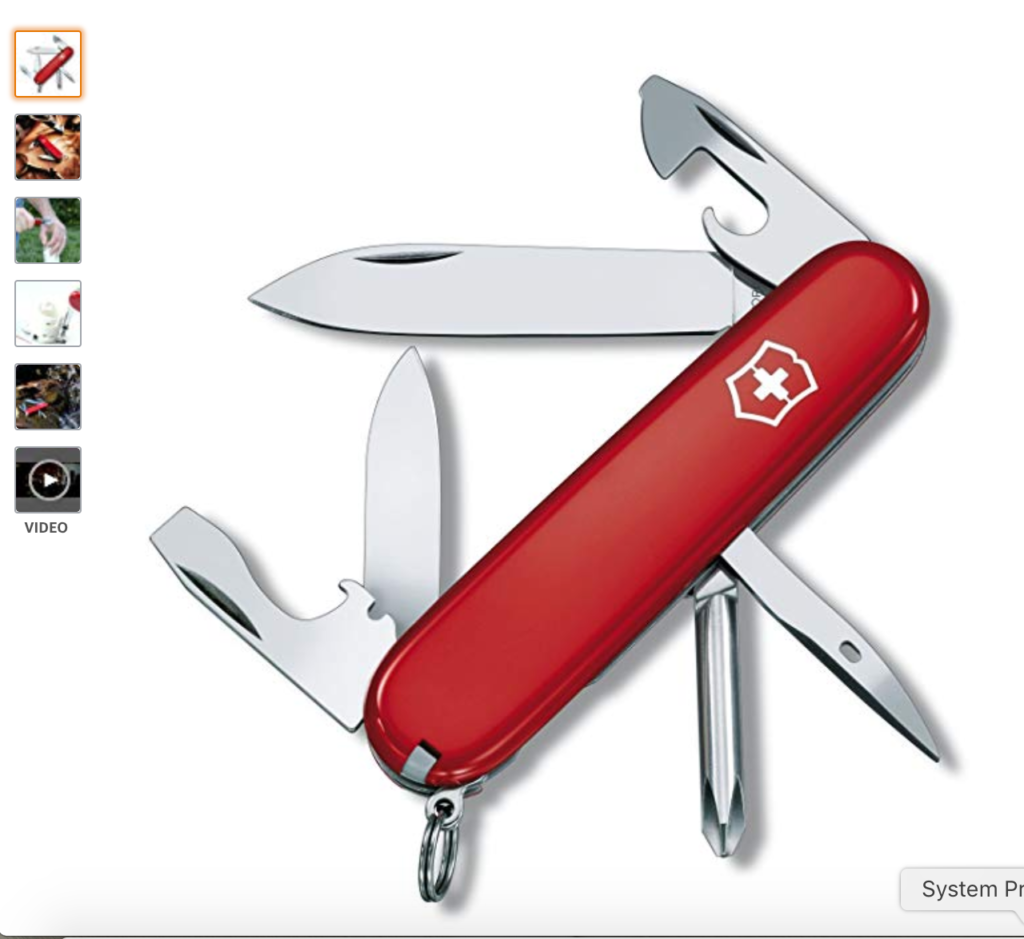
To go along with your first aid kit, you should have a small folding knife.
I have one that I bought at REI Anchorage a few years ago before a few days in the woods, but this SOG one is comparable.
You can also get a Swiss Army Knife (Victorinox are the best). I actually prefer that over a folding knife most of the time, though it is a bit heavier than just a folding knife. The upside though is that you’ll also have screwdrivers and such to make some gear repairs if you need it.
Water bladder
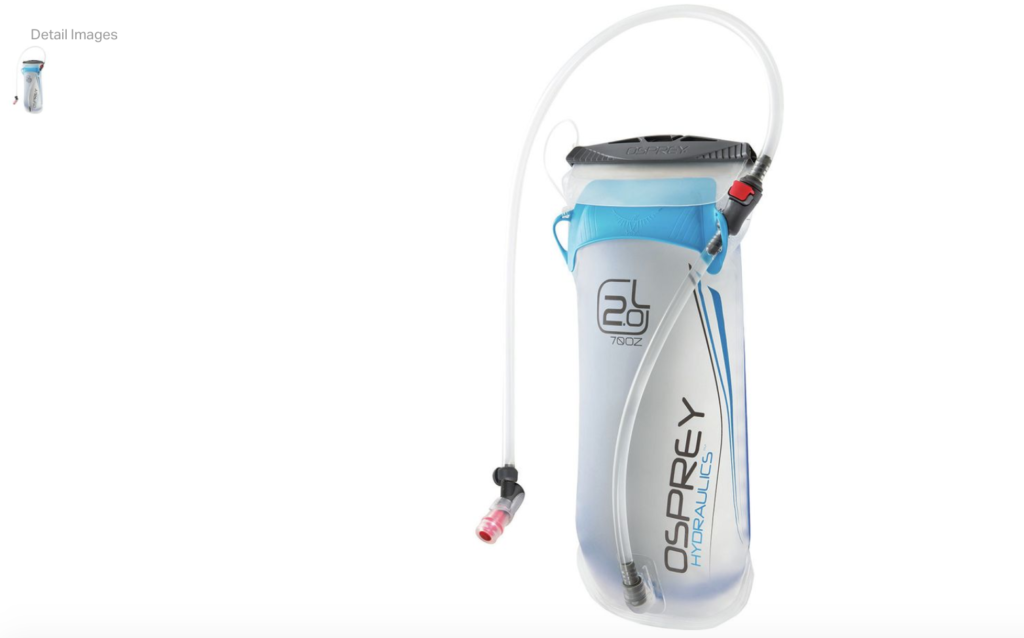
Since you’ll be out for a few hours exerting yourself at altitude, you need to stay hydrated. If you get the right backpack, you’ll have a bladder sleeve as well as a padded shoulder strap to keep your hose and mouthpiece from freezing.
I personally have the Osprey Packs Hydraulics Hydration Reservoir, in 2 liters, and it is fantastic other than the mouthpiece has leaked on me twice.
To fix that you can get a bite valve cover (that link specifically for the Osprey).
Check out all water reservoirs here.
I also recommend a HydroFlask to keep hot liquids (like coffee) hot!
Snacks!
Finally but definitely not last, you need snacks!
When we’re out for the day, I usually take the following:
- 1-2 Gu energy gels (I like Salted Caramel personally)
- Gu Energy Chews (I like strawberry)
- A sandwich
- A chocoloate bar (for a quick pick-me-up)
Conclusion
There you are, everything you need for a day out backcountry skiing.
What did we miss? Leave it in the comments!
Please note: backcountry skiing, and all mountain sports, are inherently dangerous. Please use caution and good decision making in the mountains, know your limits, and train properly for anything you are doing in the mountains.
